
Garland Pose (Malasana) - Open Your Hips
A sedentary lifestyle is a real scourge of the 21st century, leading, among other things, to musculoskeletal dysfunction. This is precisely why Garland Pose (Malasana) is not only uncomfortable for many people but sometimes even impossible to perform. However, it's worth trying, as it offers numerous benefits – including opening the hips, which improves posture, reducing muscle tension, and alleviating back and knee pain. Learn how to prepare for and perform Malasana.

Yoga for the hips – why is it worth practicing?
Is Malasana really difficult for you, and you're worried you won't be able to stretch enough to achieve the correct position? Think back to the way children play. Little ones have no problem sitting down and digging in the sandbox or stacking blocks. So what happened to cause this ability to disappear over the years? The reason lies in one of humanity's oldest inventions – the chair. It's precisely because of this chair that numerous contractures develop in the body, making Malasana painful and difficult to perform.
Regularly practicing the asana itself, as well as poses that support hip opening, allows you to relax your hips and stretch your groin, legs, and lower back. Deep squats strengthen the glutes and thighs and improve physical performance. The asana helps relieve tension, improving flexibility and joint mobility, and reducing pain.
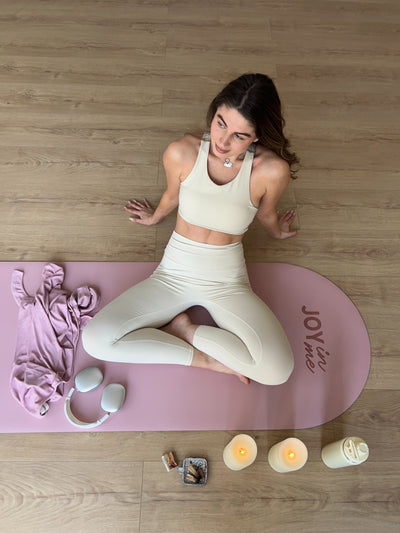
Malasana yoga also aids in cleansing the body, as it positively influences intestinal peristalsis and digestive function. Garland pose can also help reduce stress by reducing muscle tension and increasing blood flow, which in turn can improve well-being.

Malasana yoga – how to do it?
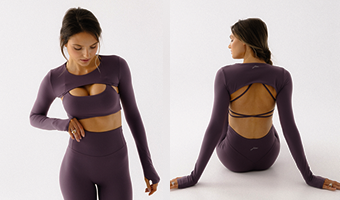
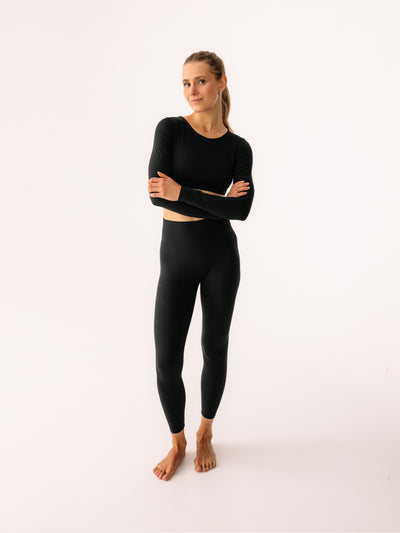
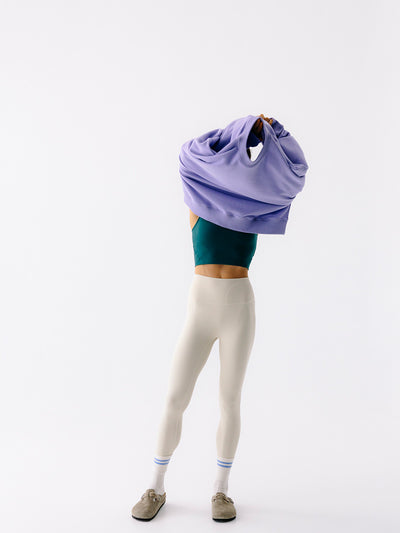
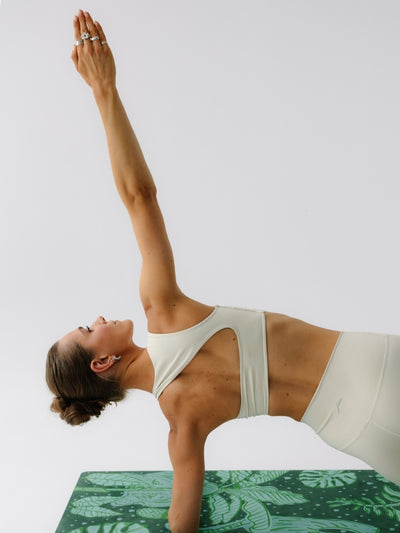
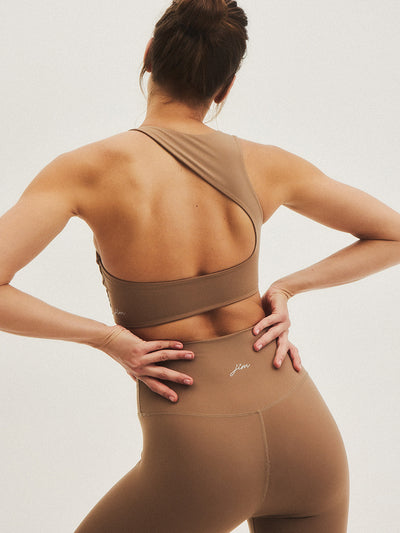
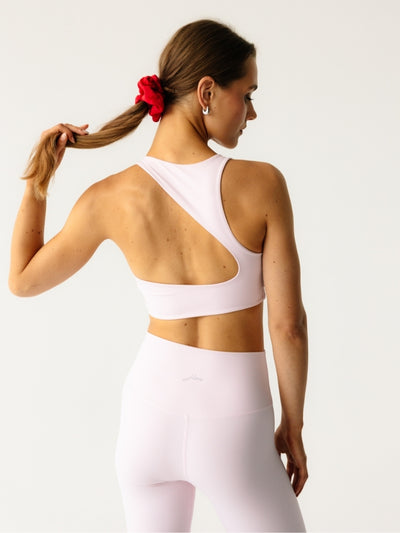
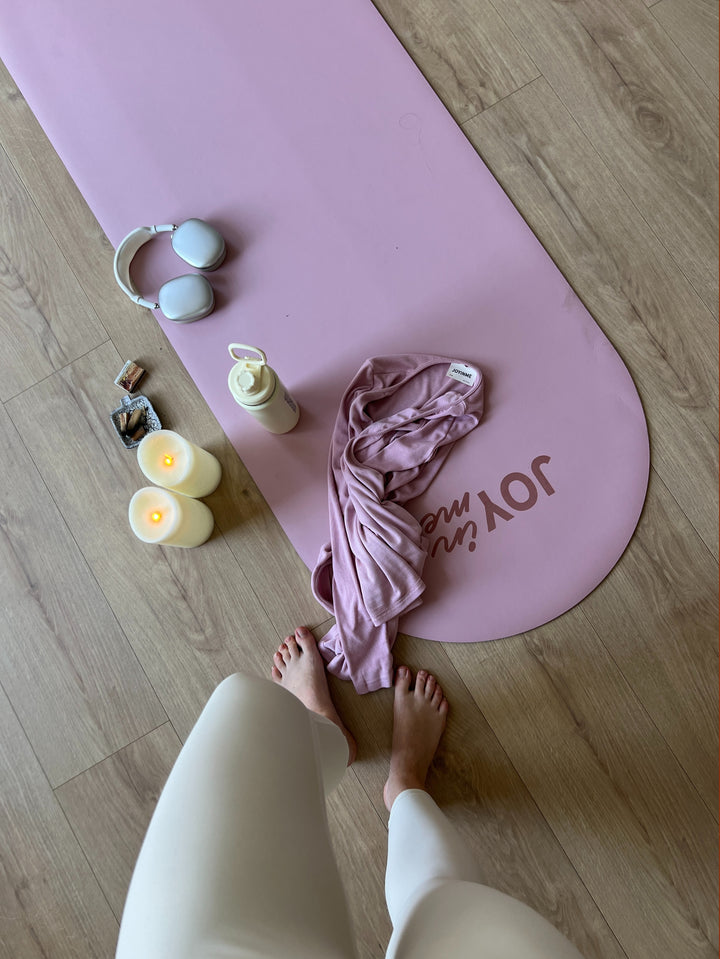
Yoga exercises for hip stretching most often involve performing exercises while seated. To prepare for a deep squat, it's worth preparing appropriately, for example, with Upavistha Konasana (Seated Angle Pose), Baddhakonasana (Cobbler's Pose), or Janu Sirsana (Knee Curl). Malasana is performed standing, with your gaze looking straight ahead. To fully concentrate on the practice, it's important to wear comfortable clothing that won't restrict movement. Loose T-shirts or fitted tops are great, as are stretchy yoga leggings that flatter your figure without being see-through.


Performing the Garland Pose for Beginners - Step by Step
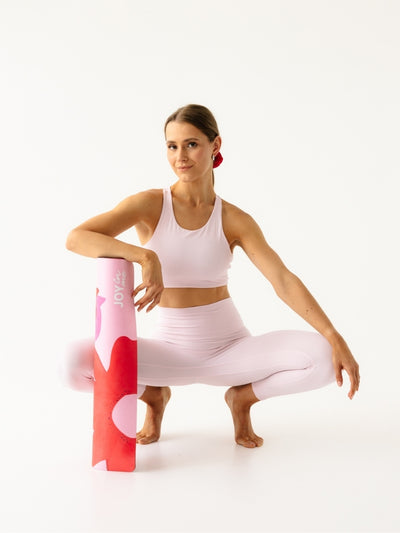
To perform Garland Pose, begin standing. Place your feet hip-width apart, then lower yourself into a slight squat, shifting your weight onto your heels and spreading your knees out to the sides. Make sure your feet are fully pressed into the floor. Beginners can place a rolled-up yoga mat or blanket under your heels to make the practice easier. Position your thighs wider than chest-width apart. Slowly move your torso forward until your thighs are between your thighs.
Bring your hands together and rest your elbows on your inner knees. Breathing deeply, try to relax your muscles. You can slightly move your hips forward to feel the stretch. Lengthen your back and neck as well. Hold this position for a few breaths, then slowly stand up and return to the starting position. Malasana should be performed according to your own abilities, gradually increasing the depth of the squat and stretching the muscles. We recommend consulting a doctor for those who suffer from back, hip, or knee pain to determine whether this pose is safe for them.


Who should do the Garland Pose? - Yoga for the Hips
Hip yoga is an excellent option for those who lead a sedentary lifestyle and want to improve their posture. Don't be discouraged if the garland pose proves difficult at first. The asana gradually relieves contractures, allowing you to descend lower with each subsequent attempt. Regular yoga practice will improve both your physical and mental health.


